Saturday, June 28, 2014

Pictorialist Photography

Camera Contraption and Filters made with wrappers, colored plastic,
textured plastic and envelopes filled with toothpaste
Wellington Church

Gateway Ironwork at University of Glasgow

Ascending Gothic Spires

Crow-stepped Gable

Towering Spires

Exit to the city through the Gothic Arch

Gothic Arch Detailing

Gothic Details of a Glasgow University Building

Unicorn Monument at the University Chapel

Pictorialism was the first artistic photography movement.  It was driven by an aesthetic approach to Photography considering aspects of the photograph like composition, tone, contrast, movement, obscurity and form.  This era of photography was not meant to record a reality or space in time, but rather the splendor of a subject.  It took place from the late 1800’s to the early 1920s.1  Just as photography had influenced the art world by becoming a catalyst for the Impressionist movement, the Impressionist movement had its own influence, which is very evident in Pictorialist photographs.

The Bridge at Ipswich
Fig 1
 Before I went to create my own Pictorialist images, I looked for inspiration and influence.  The first photographer I connected with was Alvin Coburn.  Coburn’s work is characterized by intense contrast.  Many of the objects are silhouetted or implied tonally.  Many have a blurry focus, which is evident in The Bridge at Ipswich (Fig 1).  This soft focus gives the photograph a painterly style, almost as if you can see the brush stokes that were never made.  Coburn also experimented with a lack of horizon line, which gives the picture a mystical and timeless appearance.  Above all, Coburn encouraged further experimentation by other photographers.  He asked “If we are alive to the spirit of our time, it is these moderns who interest us; why should not the camera also throw off the shackles of conventional representation and attempt something fresh and untried?”2 

Nocturne: Blue and Gold
Fig 2
I also searched for inspiration from those who
influenced the Masters of Pictorialism; Impressionist and Tonalist painters.  I took interest in the work of James Whistler, an American painter from the Tonalism movement.  Whistler documents architecture through silhouetted shapes and figures.  Looking at Nocturne: Blue and Gold – Old Battersea Bridge(Fig 2)3, Whistler has provided an entire cityscape using only form and line.  Although the Old Battersea Bridge was demolished, this scene could have taken place on any rainy London night, today or one hundred years past.  The timelessness of Whistlers are unmistakable.   These were techniques used by Pictorialist photographers during their movement. 


My first step in creating Pictorialist photography was to make filters for my digital camera.  I experimented with many different filters as you can see in the first image of this post.  I created abstraction through colored filters, textured filters and some semi opaque lenses.  Each of these filters slid into a cardboard contraption that attaches to the front of my camera.  This way they are easily layer and changed during the creative process.  After many different trials, I settled on using a green and yellow filter stacked.  These two filters gave me many of the effects I desired.  By layering the two filters, my images were softer.  Sharp edges and details were diffused as light passed through not a single lens of a camera, but two filters and a lens.  The soft focuses of my images are reminiscent of Coburn’s Bridge at Ipswich (Fig 1).
The combination of my filters also created extreme contrast and limited the color pallet.   Photography was in its infancy during the pictorialist movement, so almost all of the images were monochromatic or completely unsaturated.  The green and yellow neutralized the appearance of the colors in my actual scenes, giving them a monochromatic appearance.  The layering of the filters also silhouetted many of the buildings and figures.  I often had to wait for a glimpse of sun to maximize the contrast between foreground and background in my images.  This is clearly illustrated in my image The Unicorn Monument at University Chapel. 
Struggle
Fig 3
The final technique that I used with my filters was tilting and rotating them when I was taking the pictures.  By tilting the filters, reflections from the sky, light through foliage and silhouetted buildings was projected onto my images.  Many pictorialist photographers like Robert Demachy in his picture Struggle (Fig 3) used post production techniques like applying brush strokes or layering multiple photographs.4  Although we were not given the opportunity to manipulate our images after they were created, the reflections of other scenes in my images give a hint of that effect.  You can see this clearly in Towering Spires and Crow Stepped Gables.  I really enjoyed looking at this era in photography.   I have always been inspired by the Impressionist movement and it was really interesting to learn about the push and pull of painters and photographers during that time period. 

1         "Pictorialism". Encyclopædia Britannica. Encyclopædia Britannica Online.
Encyclopædia Britannica Inc., 2014. Web. 30 Jun. 2014
<
http://www.britannica.com/EBchecked/topic/752375/Pictorialism>.
2         Urban Photography. "Alvin Langdon Coburn - Famous Photographers Of Urban Scenes."Alvin Langdon Coburn - Famous Photographers Of Urban Scenes. N.p., n.d. Web. 30 June 2014.
3         Tate. "James Abbott McNeill Whistler Nocturne: Blue and Gold - Old Battersea Bridge C.1872–5." Nocturne: Blue and Gold – Old Battersea Bridge. Tate, n.d. Web. 30 June 2014.
4         "Robert Demachy | Struggle." The Metropolitan Museum of Art. The Metropolitan Museum of Art, n.d. Web. 30 June 2014.

Sunday, June 22, 2014

Camera Obscura Assignment

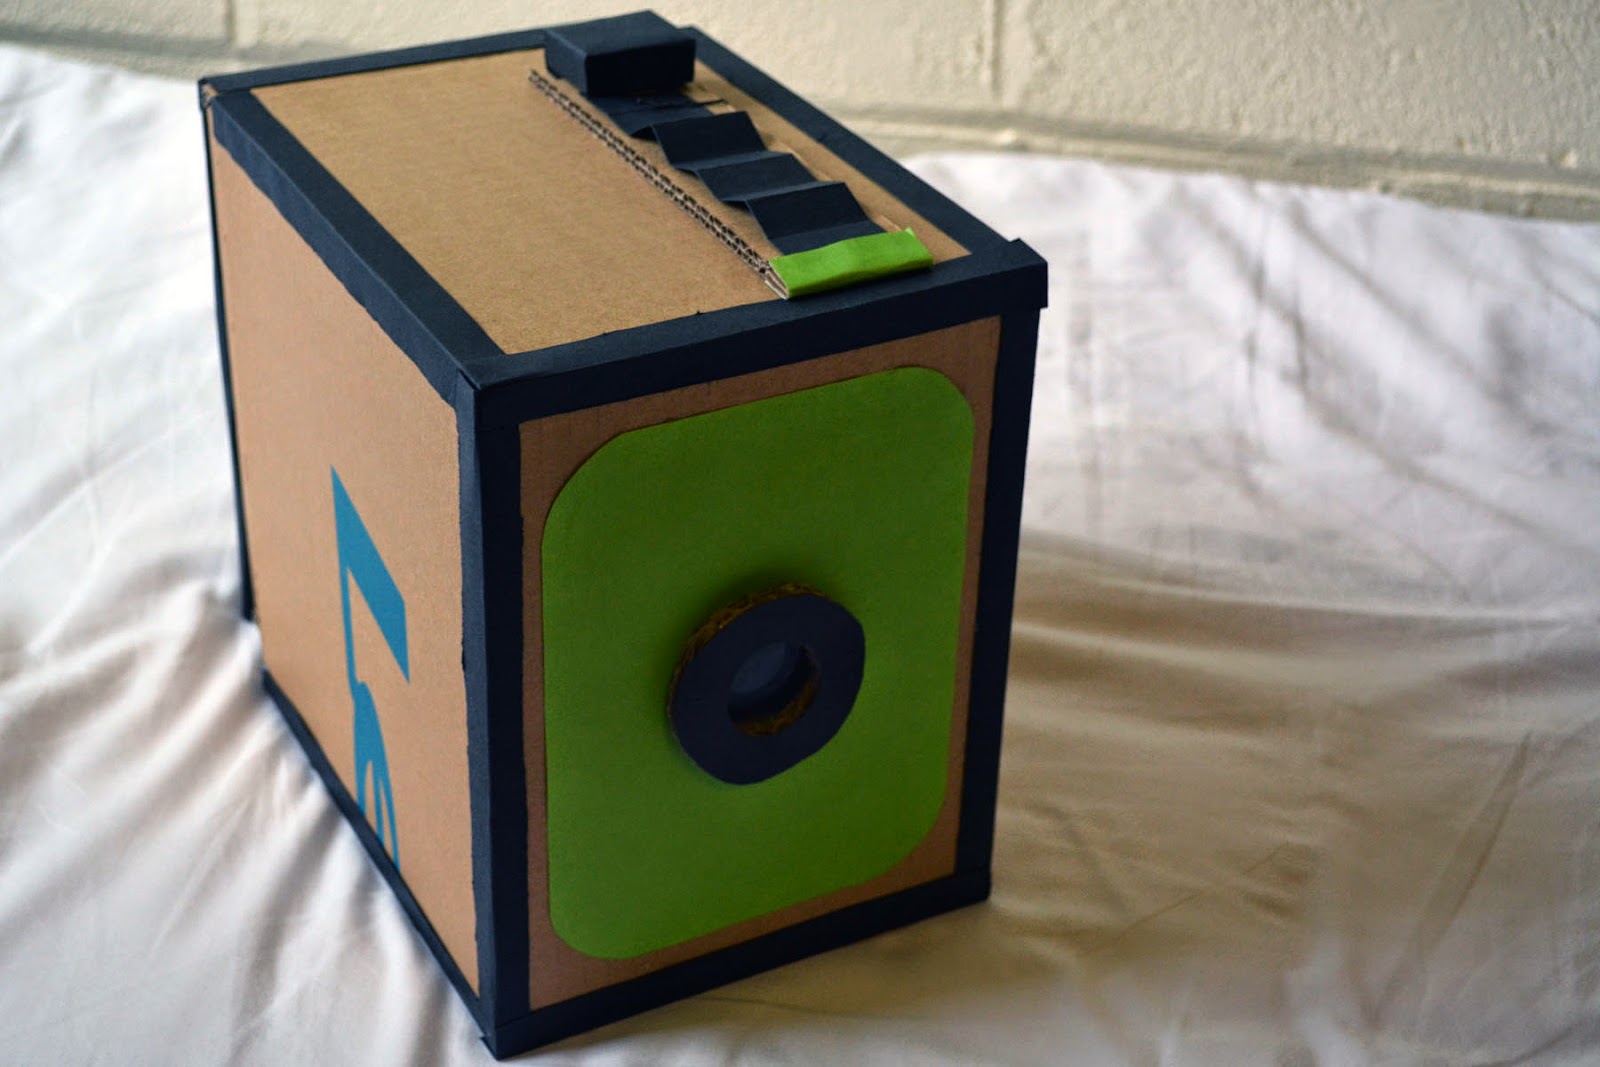
Camera Obscura Box

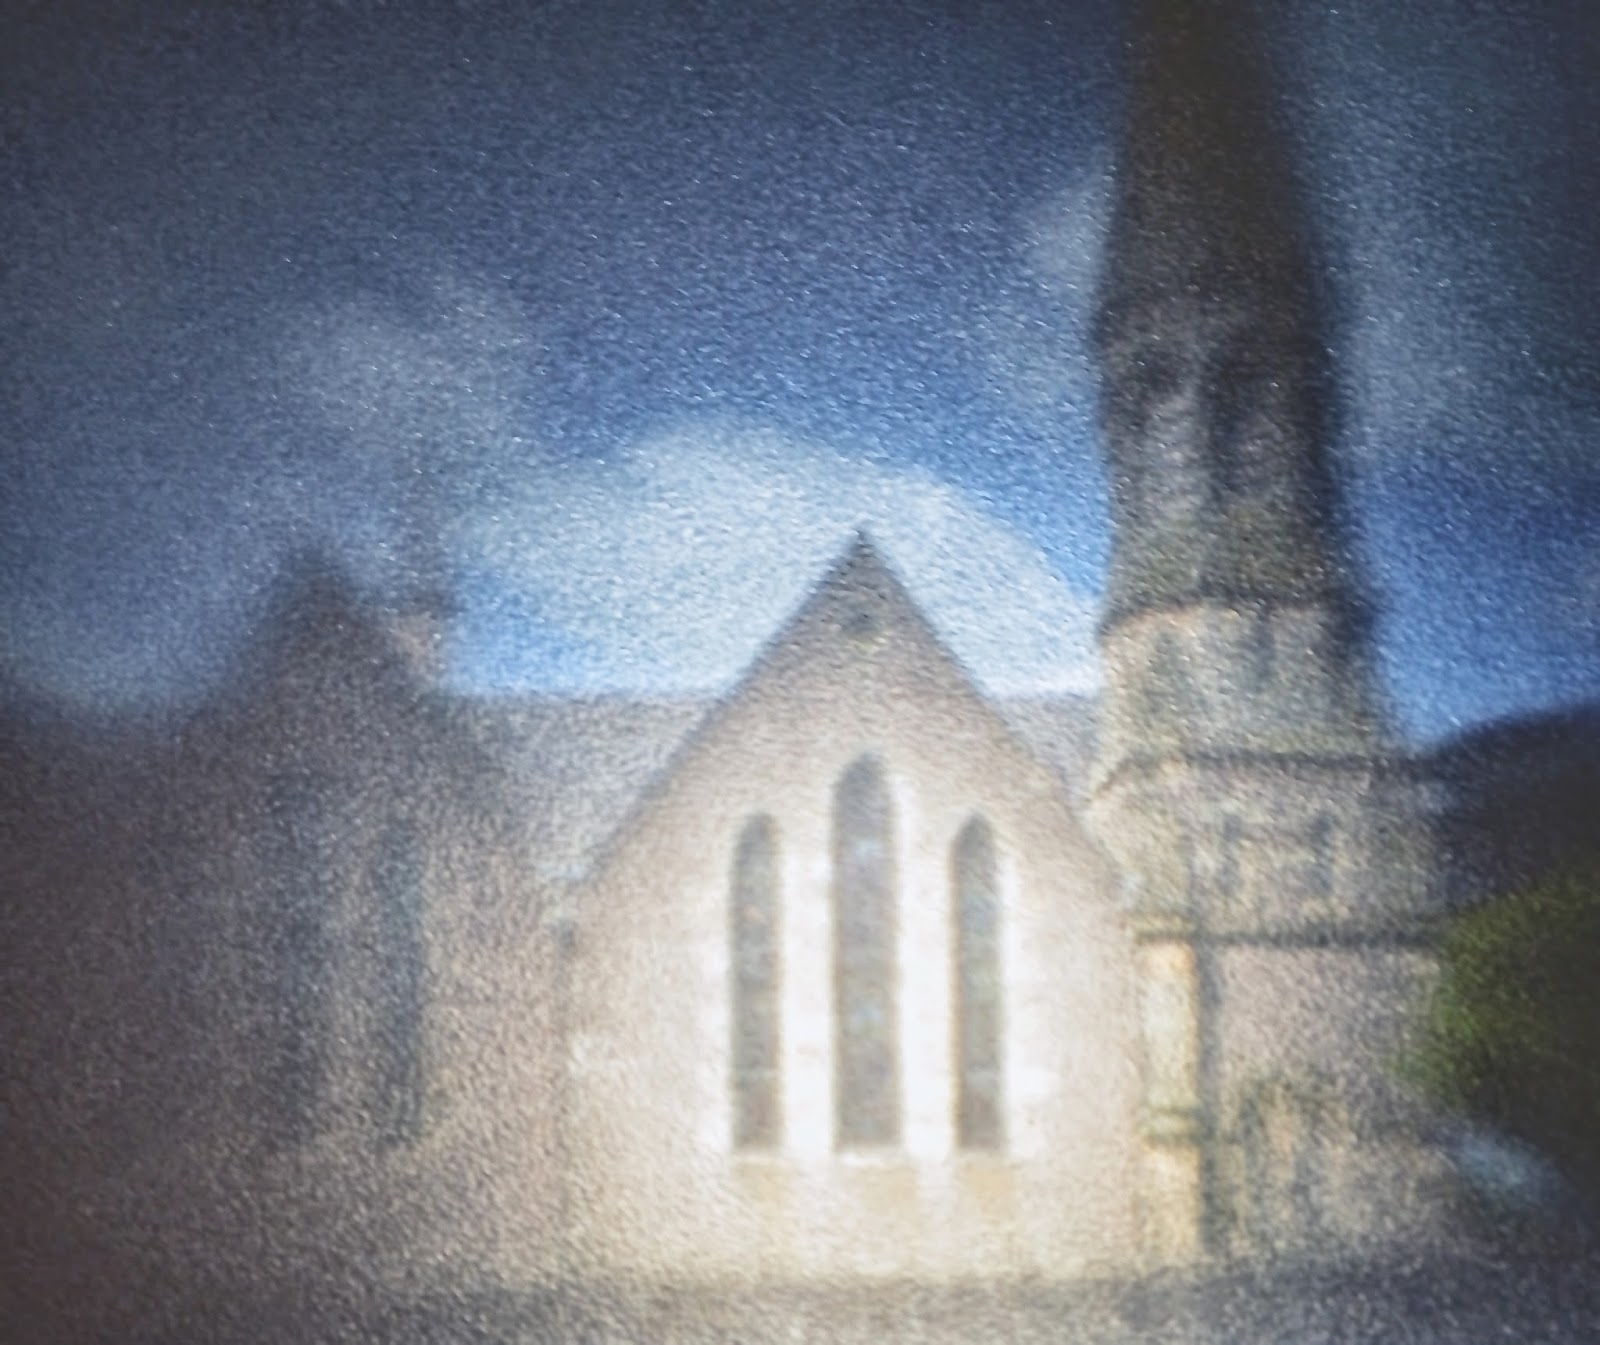
Bridge of Allen Parish Church

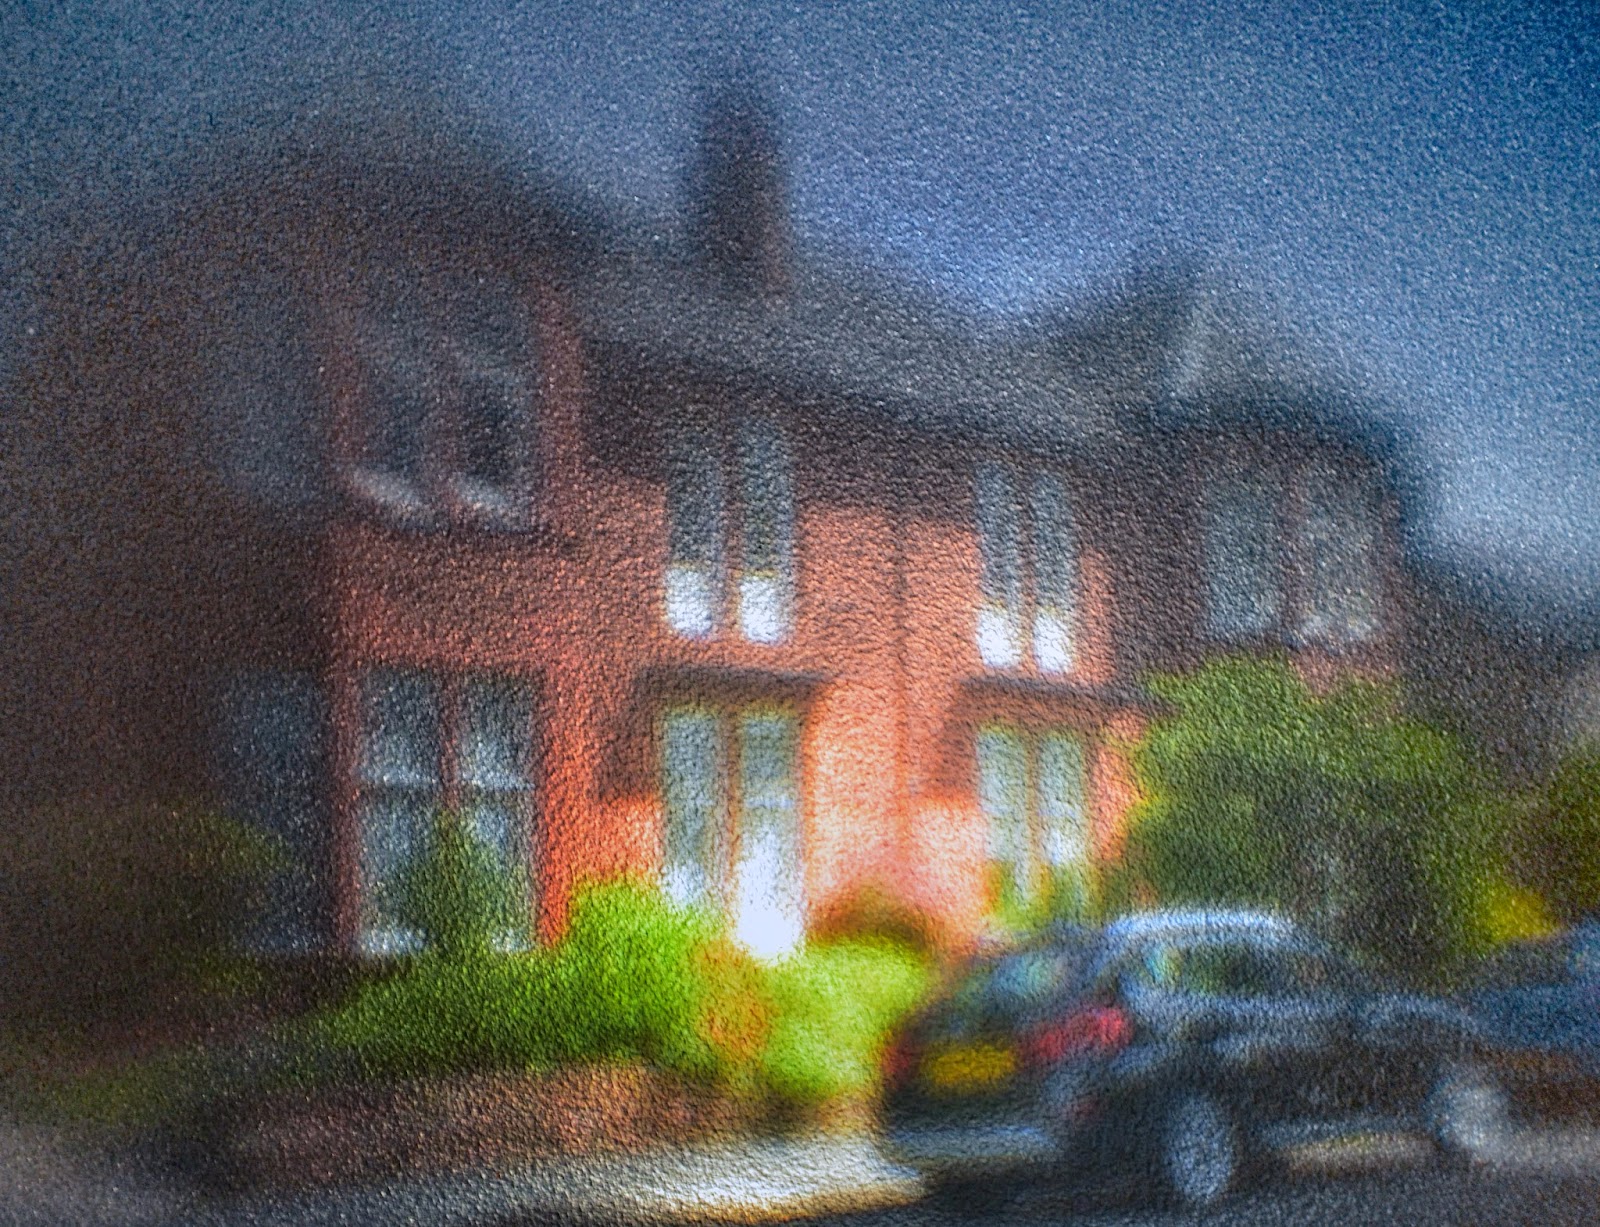
Bridge of Allen Residences in Red

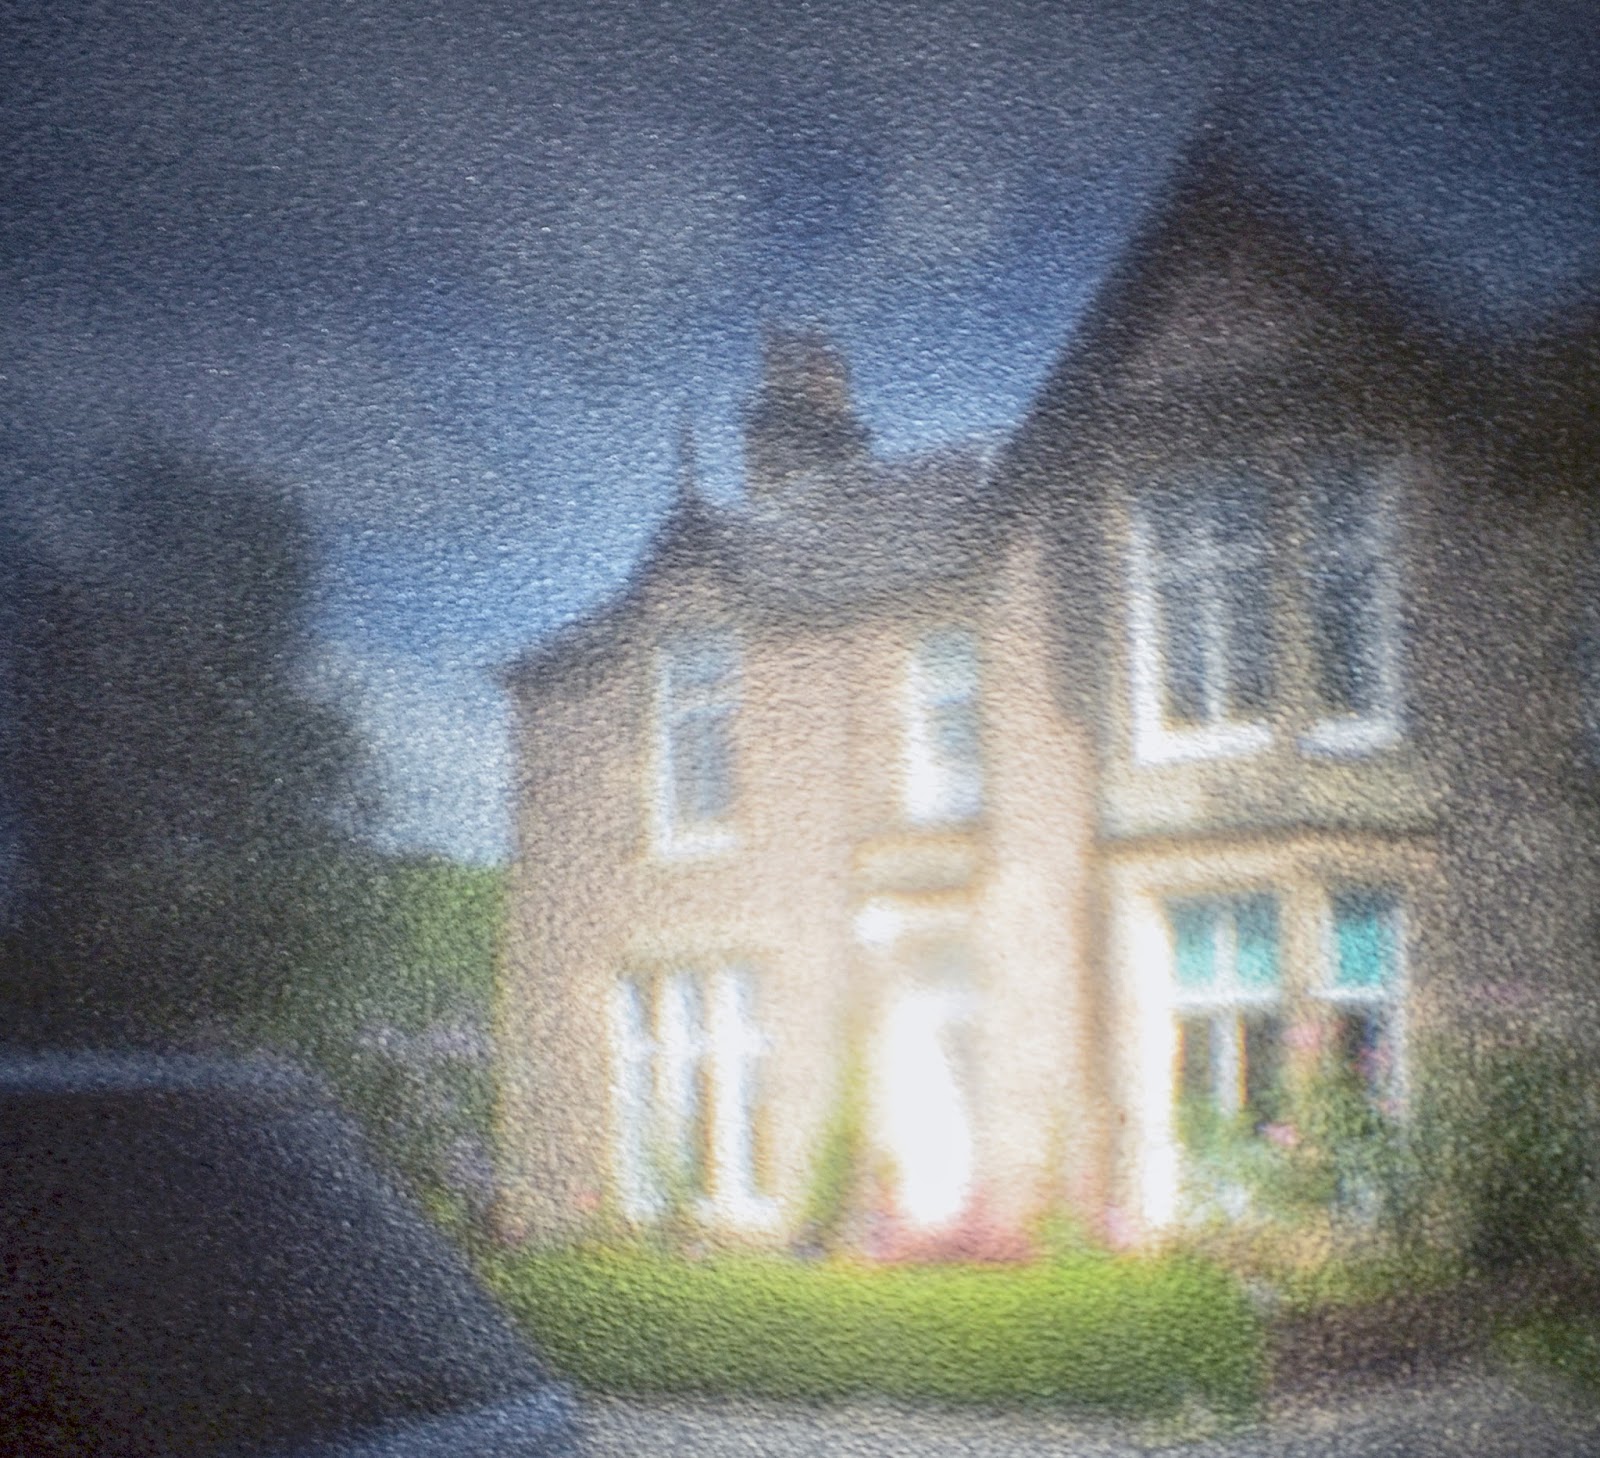
Victorian Residence with Bay Windows

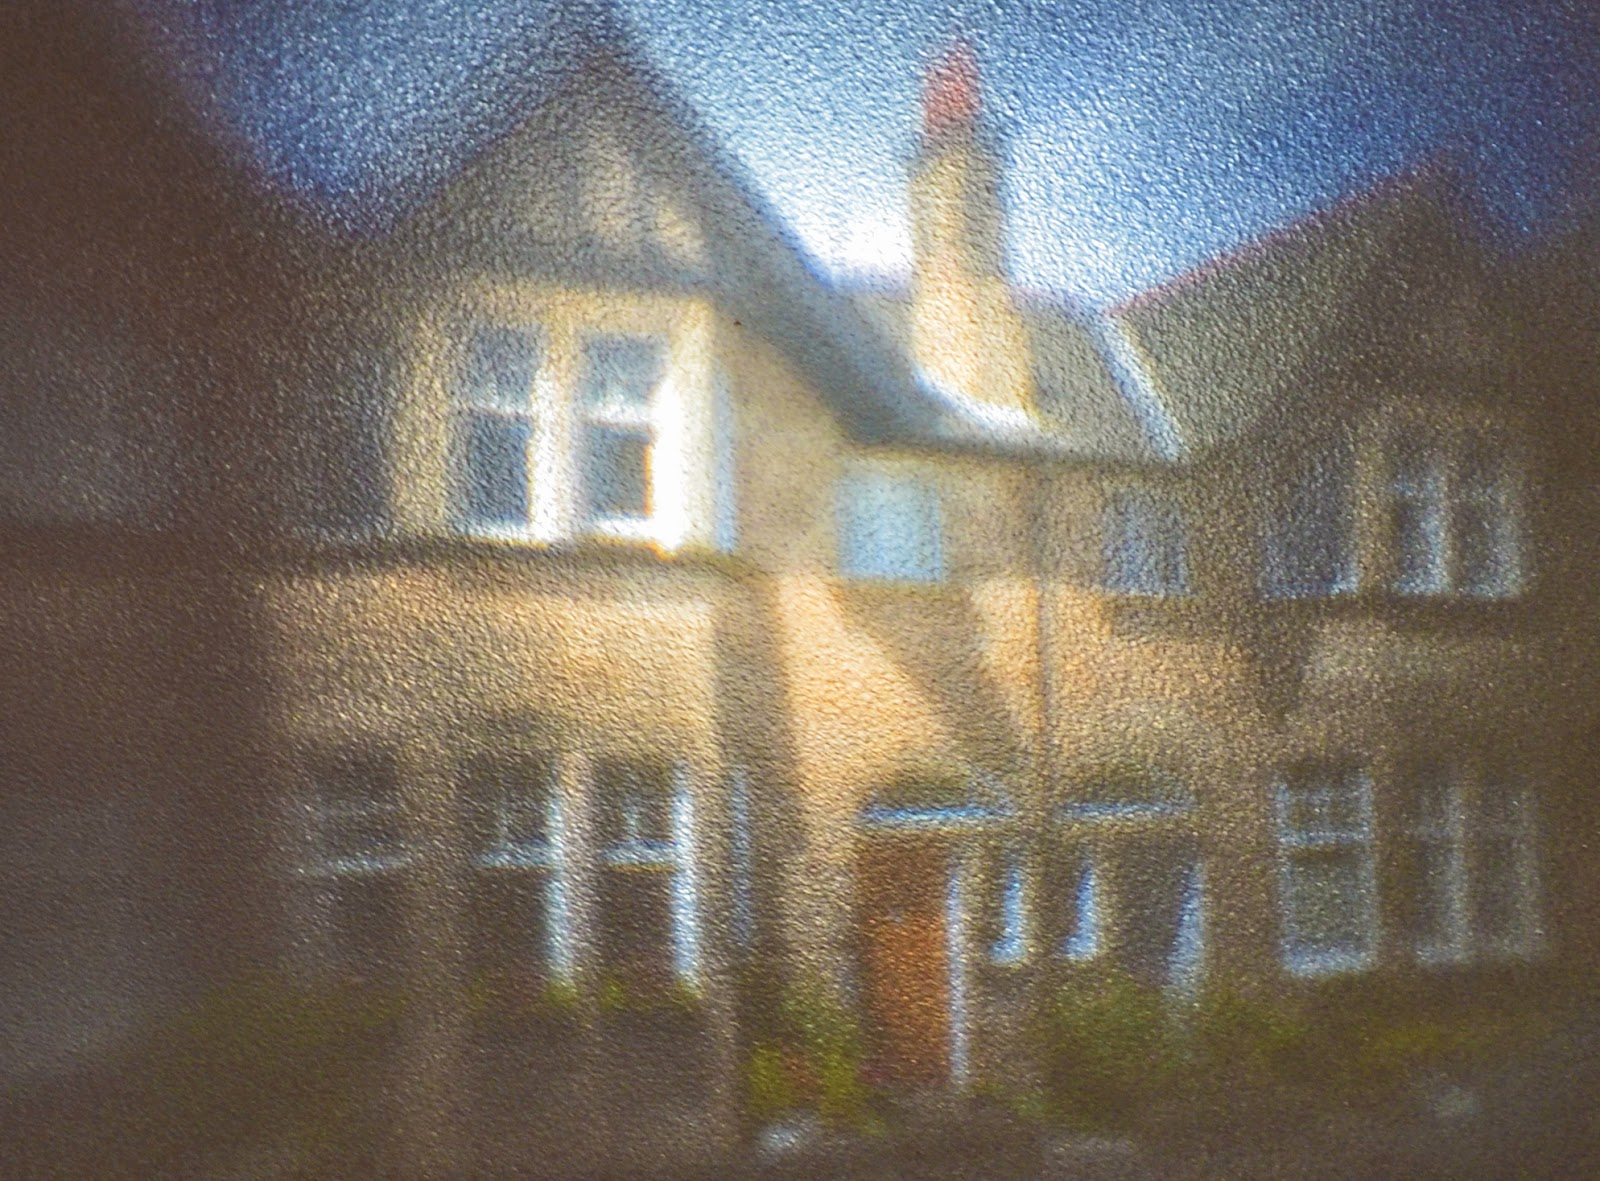
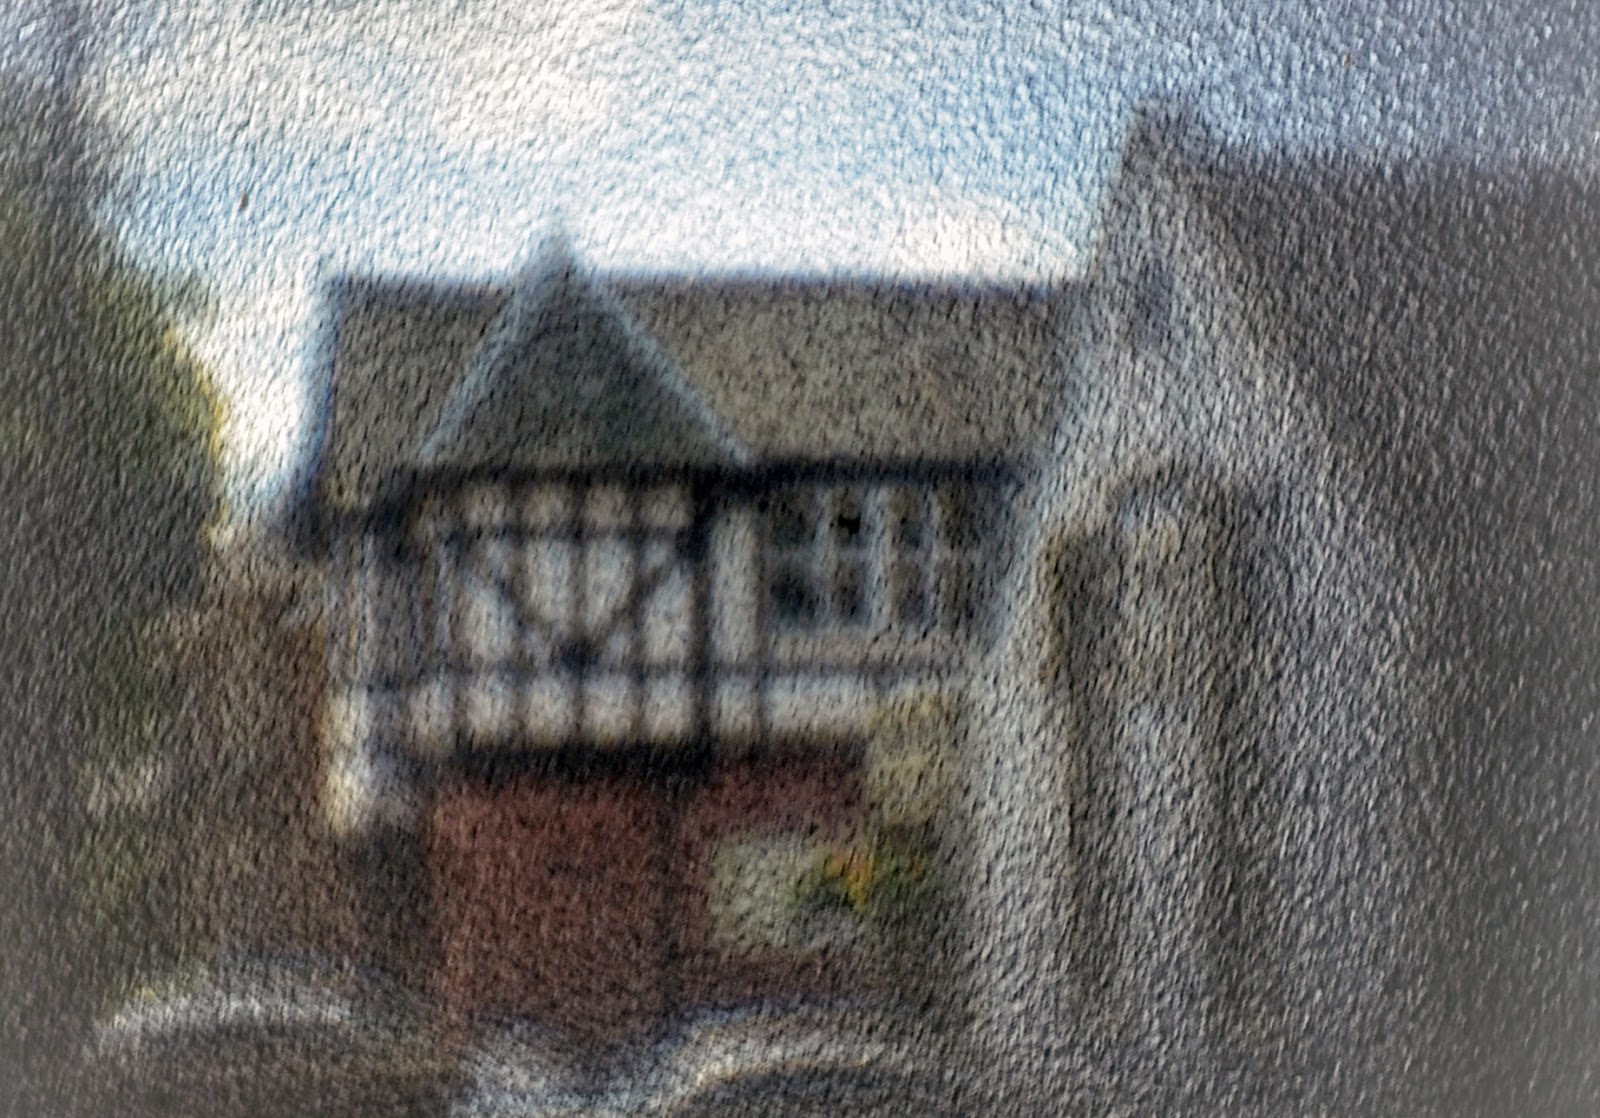
Gabled Roof Victorian Style Residences

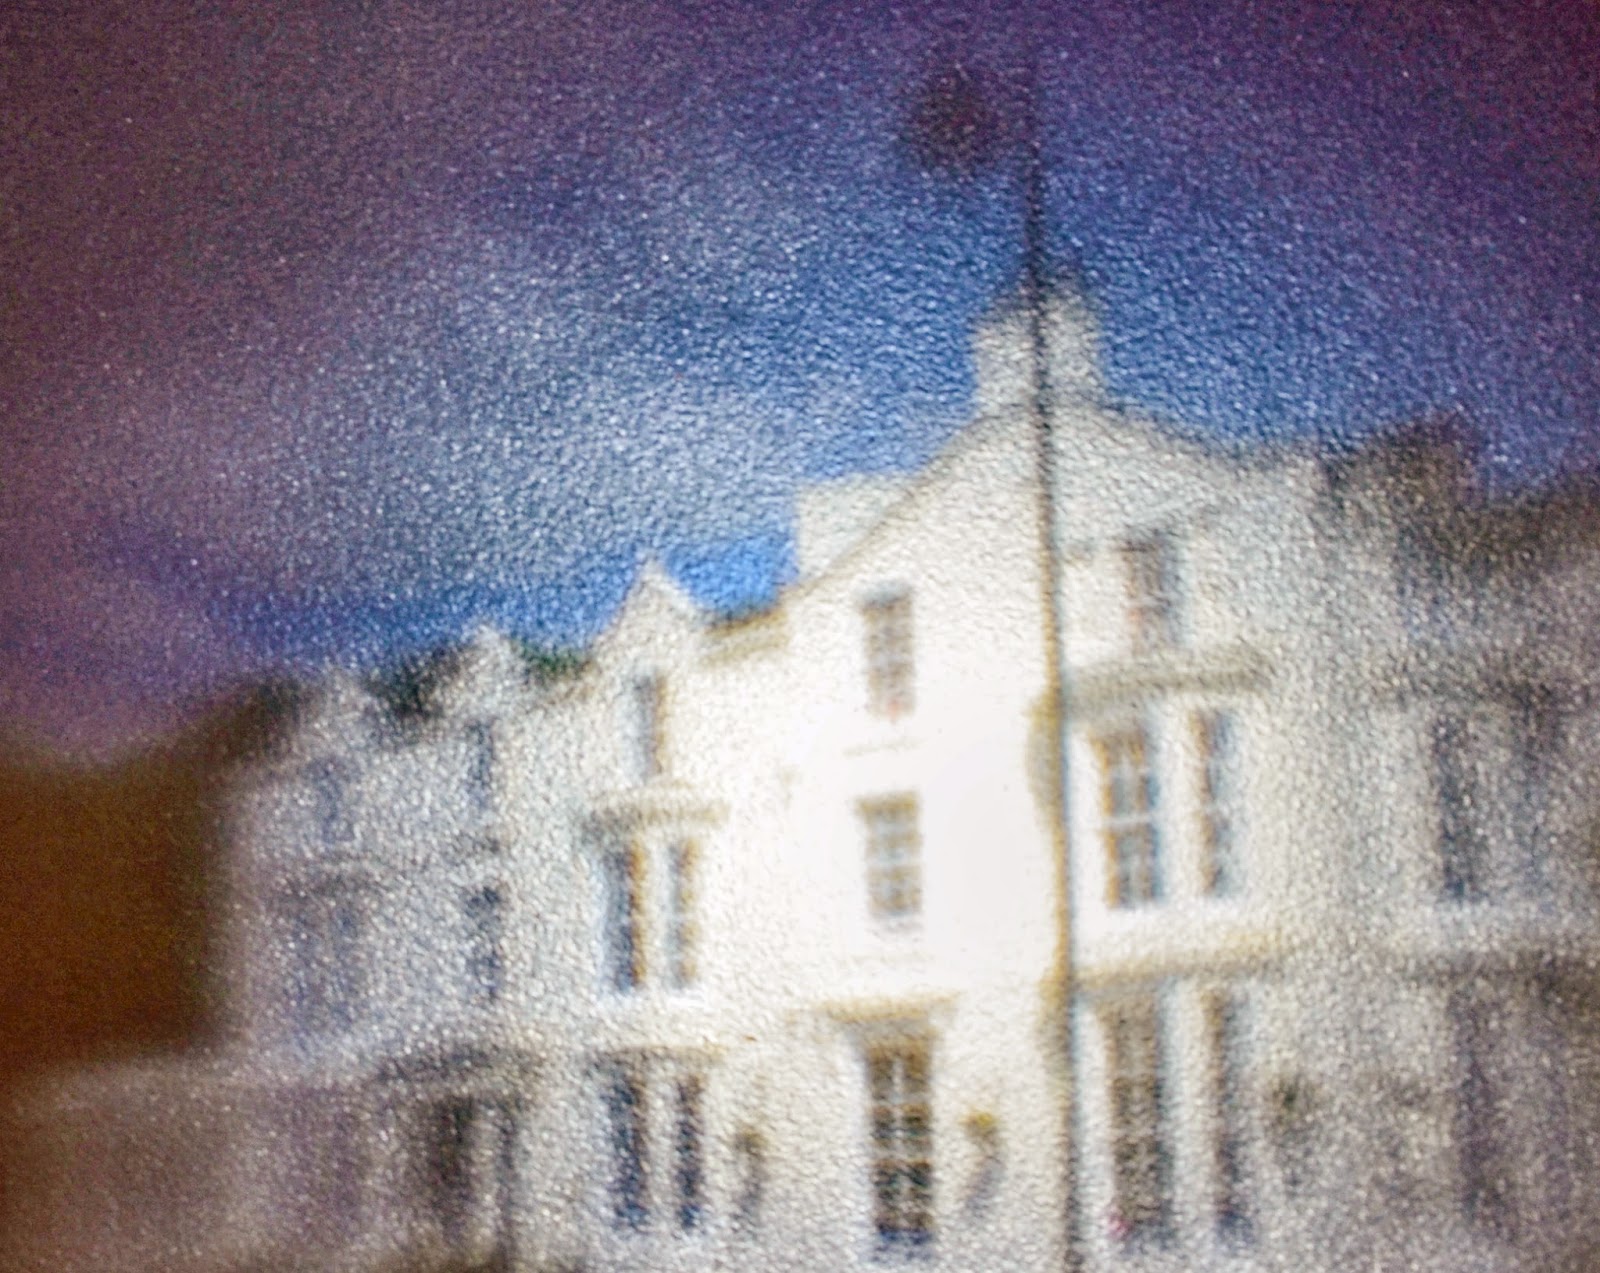
Front View of the Royal Hotel

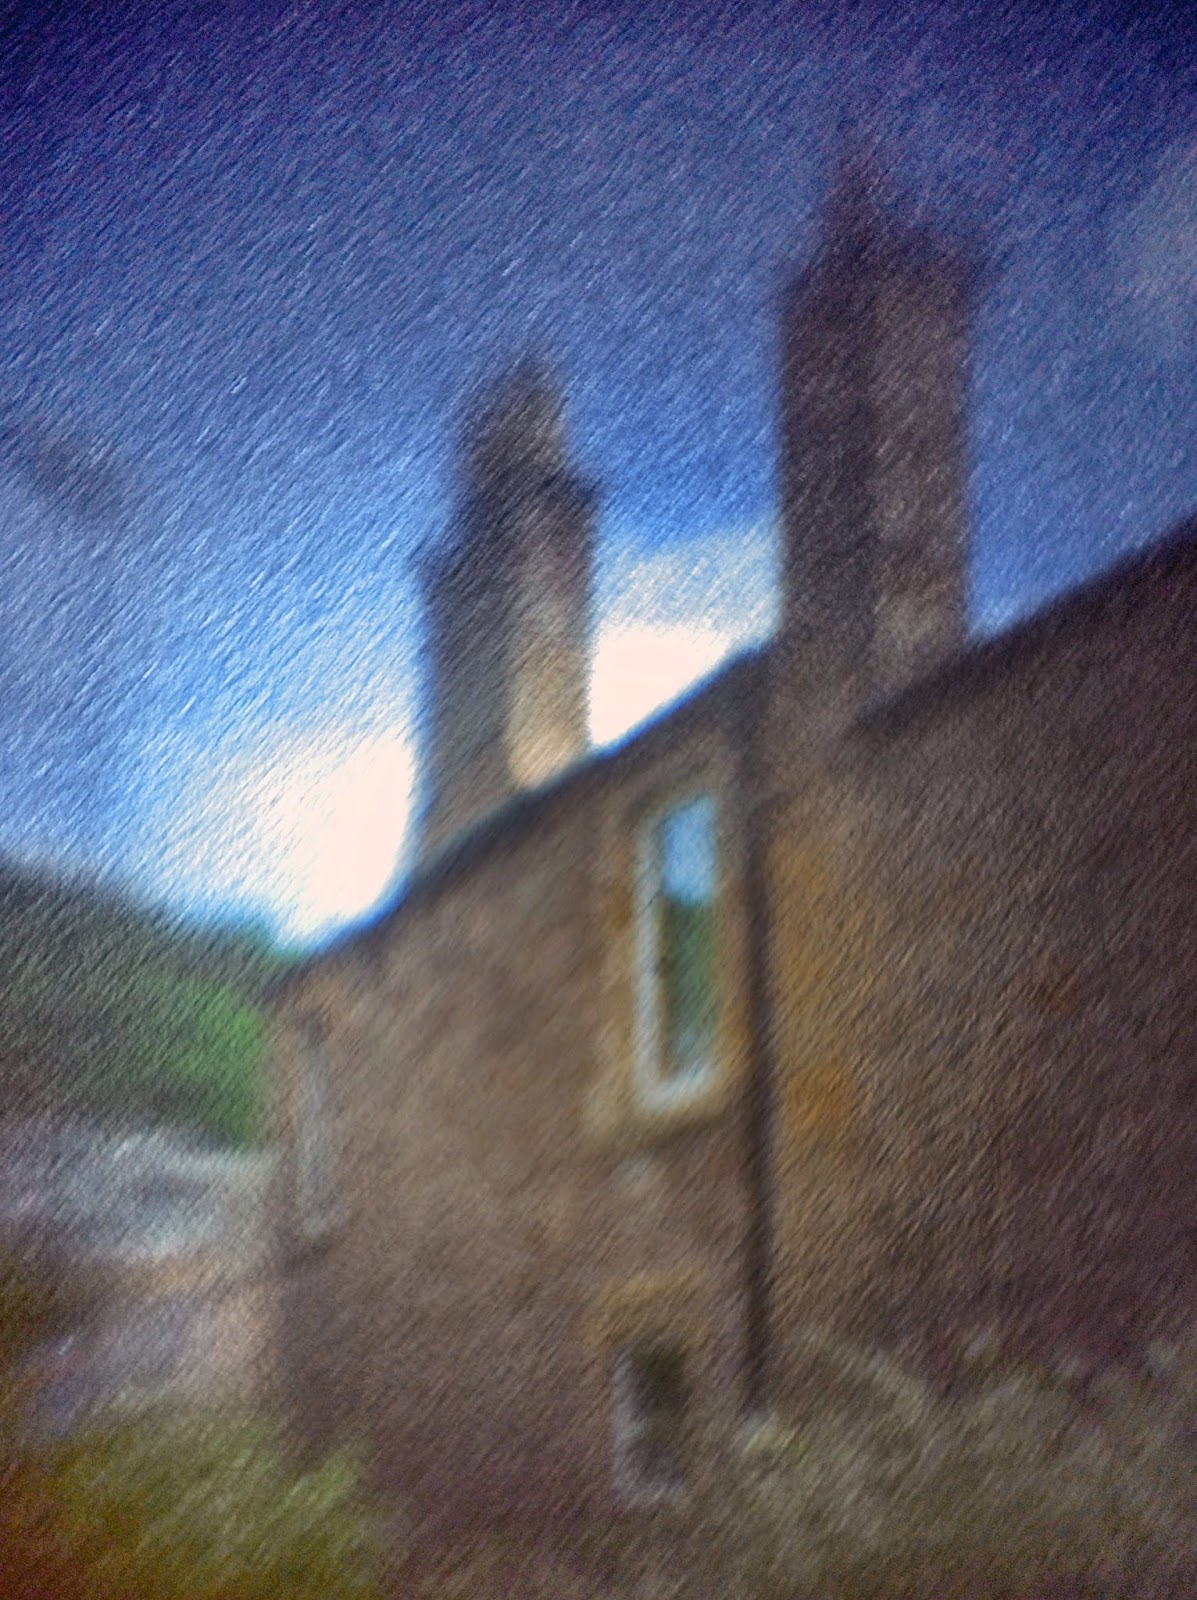
Stone Towers and Wall

Victorian Style Residence with Brick Clad Bottom

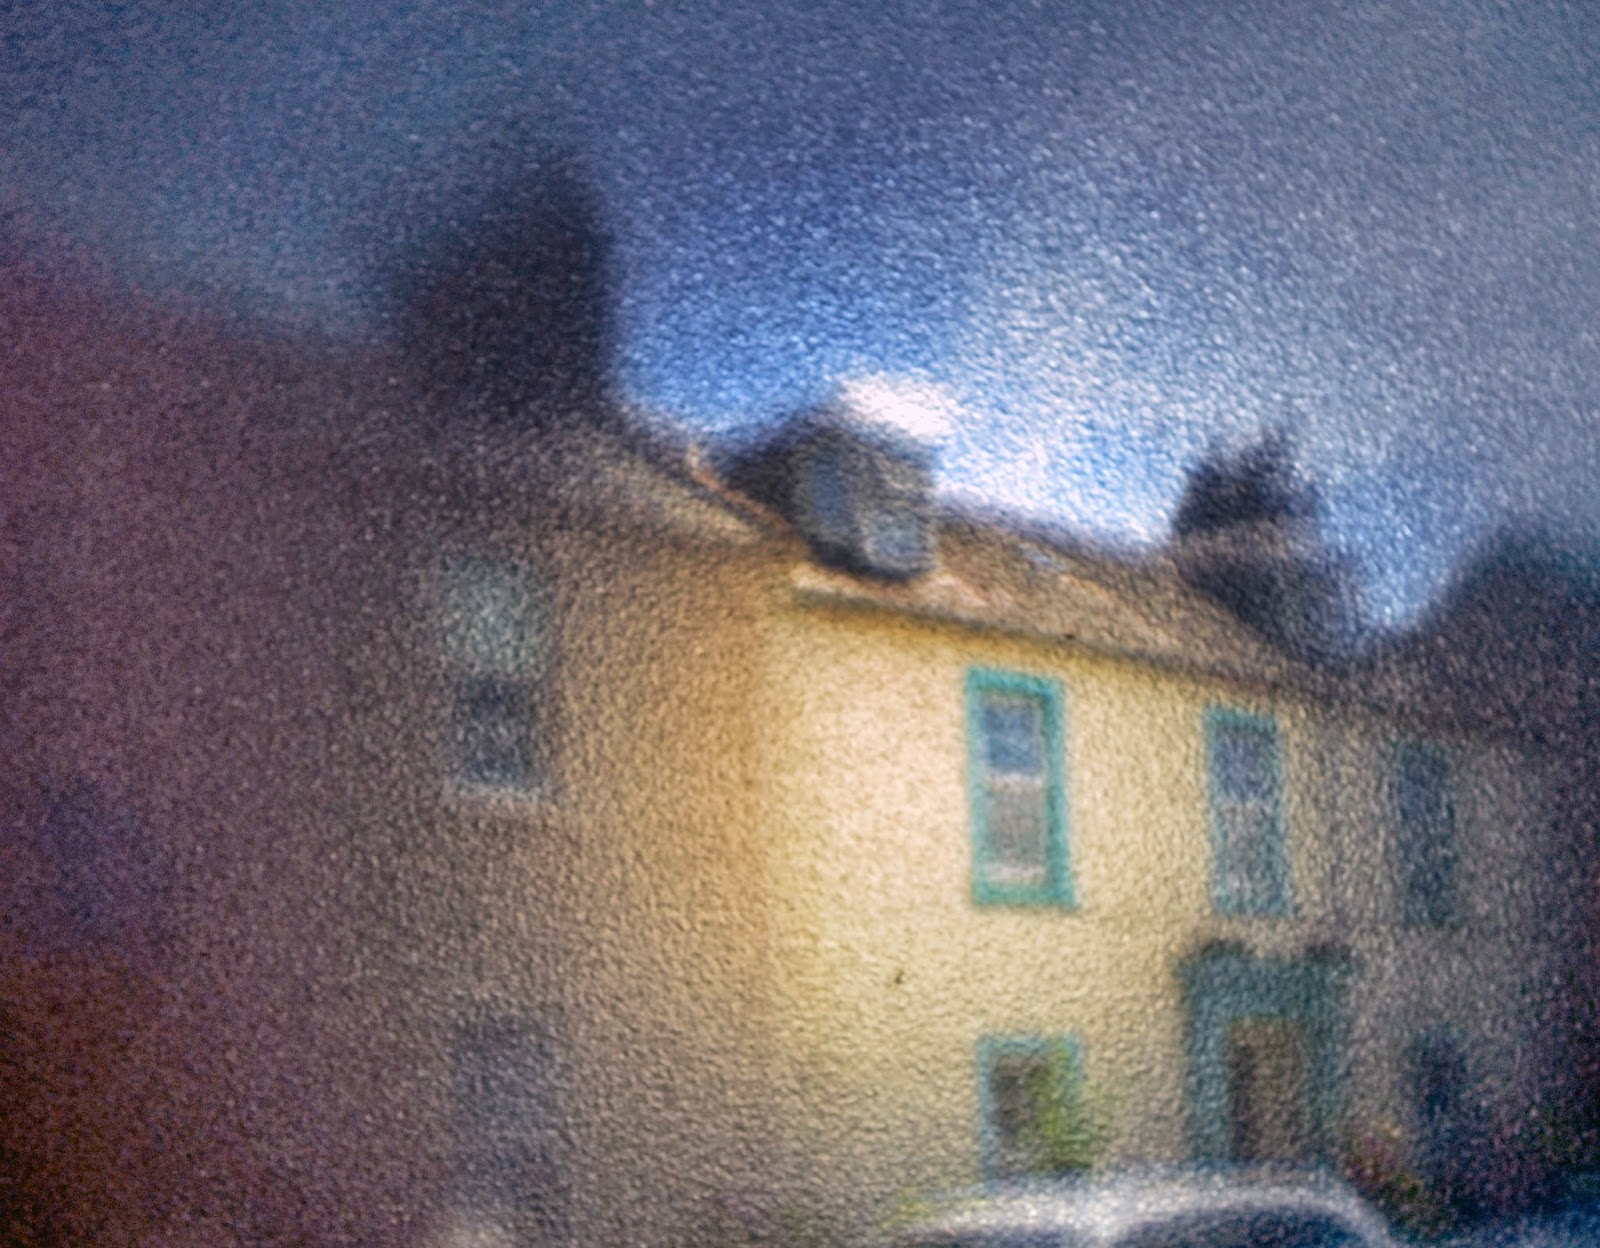
Victorian Residence with Shed Dormers

The Camera Obscura is a scientific tool that conjured amazement and wonder in the people of the 17th Century.  It was a catalyst to scientific, mathematical, physiological and artistic advancements.  It began as a device that would cost a large sum of money, take up an entire room and consume a large amount of time to construct.  The Camera Obscura still enchants its viewers at room size replicas in places like Edinburgh’s Camera Obscura.  People are able to receive a tour of the entire city from one room.  Although the device was much improved by scientific instrument makers Barr and Stroud in 1947, it uses the foundations of original Camera Obscura creators.1  Learning how to create the Camera Obscura gave me a whole new insight into photography.
The scientific process of the portable Camera Obscura box is relatively simple.  A convex lens is put into the outside of the box and a semi opaque sheet is placed behind it.  As light passes through the lens it is reflected onto the opaque sheet.  It is amazing to see how this technology is borrowed from that of the eye.  It mimics light traveling through the lens of our eye and focusing on the back of the retina using a much more primitive method. Although it may not have been used in the original Camera Obscura, the convex lens is essential to a clear picture.  One of the original Camera Obscura creators, Giovanni Battista Della Porta wrote about the lens in his dissertation of the Camera Obscura “If you put a small lenticular Crystal glass to the hole, you shall presently see all things clearer, the countenances of men walking, the colors, garments, and all things as if you stood hard by.  You shall see them with so much pleasure, that those that see it can never enough admire it” (G.B. della Porta Magiae naturaois oibri XX (2nd ed. 1589) XVII.6)2.  Men like Robert Hooke modified the original room-based Camera Obscura to create a portable box camera.  It was advised for use by travelers and artists.3  This is much closer to the Camera Obscura that we created. 
The Camera Obscura we made in class was at its simplest forms, using only a box, lens and a plastic bag.  When I created my own Camera Obscura I attempted to modify the original box to improve the picture and the ease of use.  I first changed the material of the semi-opaque screen.  During class we used a plastic bag taped to a cardboard frame.  This allowed for a very large margin of error when the image was reflected on the screen.  It is very hard to get a grocery bag to remain rigid with no ripples or stretches.  I used a semi opaque plastic instead.  This created much improvement over the class camera, making a clearer picture.  The material still requires refinement.  The only semi-opaque plastic I found was textured.  The texture refracted the light, making the image less clear.  A semi-opaque, flat matte polyacrylic plastic would have most likely created a better picture.
The next adjustment I made was to make the screen moveable from the outside of the box.  This allows the user to easily focus the camera without having to open the box, adjust the lens close the box and reposition the camera.  I did this by simply adding a sliding mechanism to the top of the lens.  The void created by the slider is filled with an accordion paper.  As the slider moves to one side, the paper folds and continues to block extra light from entering the viewing chamber.  This method works fine for a first prototype, but with access to more supplies a rotating belt and knob would have made a better slider.  These could have been internalized, preventing the issue of letting in more light.
I also made it so the back end of my camera can be pulled down, revealing the entire plastic screen.  This did not seem to affect the quality of my reflected image and allowed for a larger area to be captured by my digital camera.  Near the lens, I placed a cardboard circle in front of the lens.  This seemed to help disperse light and reduce the contrast between the light being let in through the center of the lens and that being projected to the outside.
The largest issue behind the Camera Obscura I made was not the box camera’s functionality, but the translation between object, projection and digital representation.  Throughout history, the Camera Obscura has been used as a tool for scientists to record and observe, for artists to hone their accuracy in perspective and rendering, for young sketchers to improve their skills and as a gateway to the chemical advancements of modern photography.  It would have been much more practical to use the Camera Obscura to render or draw the urban environment than to capture it digitally.  An observer can use the Camera Obscura to accurately portray proportions and object placement and then infer or create fine details.  By using the Camera Obscura and a digital camera to capture images we were limited to very few conditions, restricting artistic expression.  The building had to be well lit to be perceived and captured by the Camera Obscura, and even then the fine details were mostly lost in translation.  As a tool and as an insight into photography’s history, the Camera Obscura is as amazing and admirable as its early users proclaimed.
1     
1         "Edinburgh's Camera Obscura and World of Illusions - Edinburgh's Finest Visitor Attraction - a Good Day out for All the Family." Edinburgh's Camera Obscura and World of Illusions - Edinburgh's Finest Visitor Attraction - a Good Day out for All the Fily. N.p., n.d. Web. 23 June 2014.
2         Max Planck Institute for the History of Science. Inside the Camera Obscura – Optics and Art under the Spell of the Projected Image. Max Planck Institute for the History of Science. Max Planck Institute for the History of Science, 2007. Web. 23 June 2014.
3         Max Planck Institute for the History of Science. Inside the Camera Obscura – Optics and Art under the Spell of the Projected Image. Max Planck Institute for the History of Science. Max Planck Institute for the History of Science, 2007. Web. 23 June 2014.